


 (831) 480-0381

 (831) 480-0381
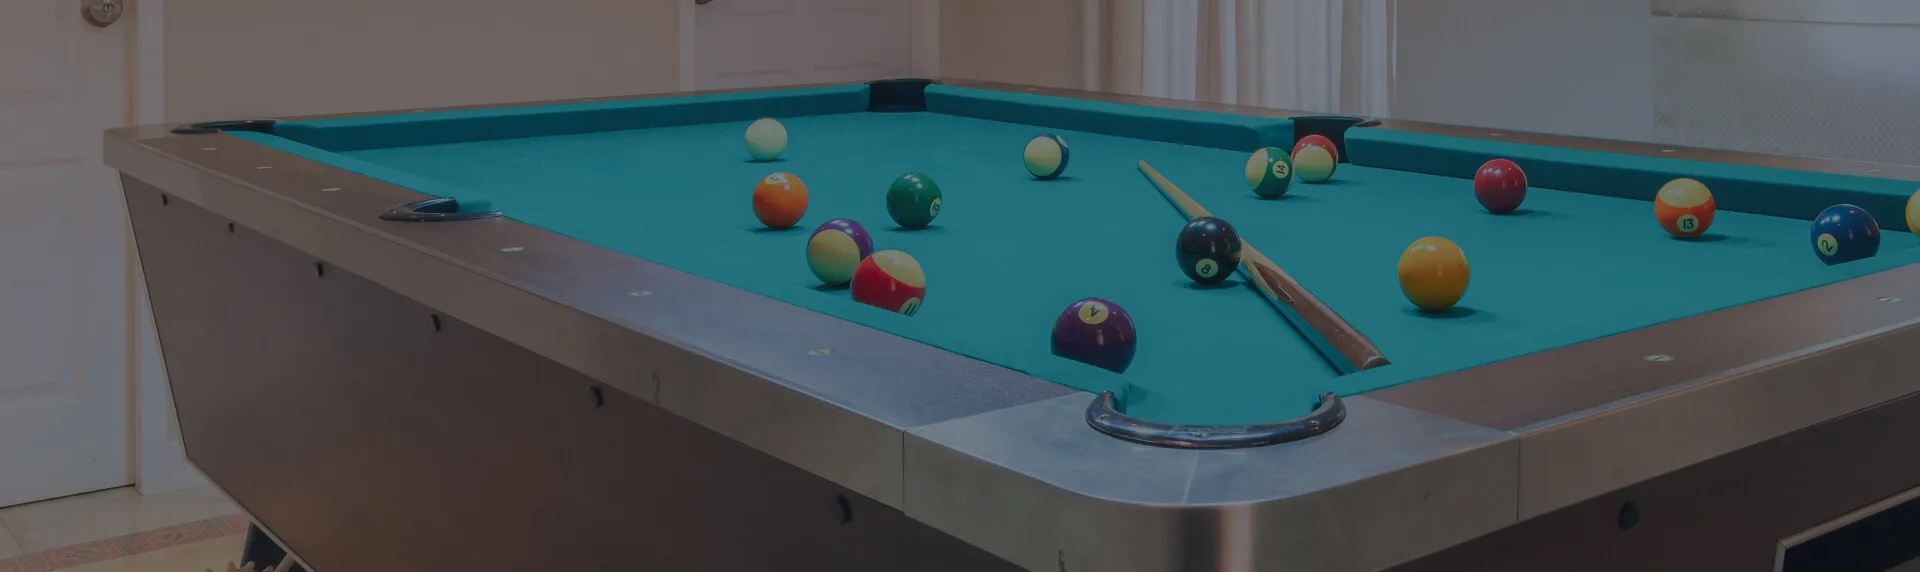
Moving a pool table is not like moving a sofa. The slate playing surface alone can weigh anywhere from 150 to 450 lbs per piece depending on table size, and a standard table has three of them. Get the disassembly wrong, and you risk cracking the slate, tearing the felt, warping the frame, or putting someone’s back out on move day. This guide walks through the full disassembly process in the correct order — tools, techniques, and the points where most DIY attempts go sideways. If the checklist below already looks like more than you signed up for, our Monterey pool table movers handle the whole job including reassembly and re-leveling.
Why pool tables are not DIY-friendly to disassemble
The short answer is weight and precision. A 7-foot table typically has three slate pieces weighing 150–250 lbs each, an 8-foot table runs 200–350 lbs per piece, and a 9-foot table can reach 250–450 lbs per piece. That’s a minimum of 450 lbs of stone that needs to come out flat, be transported without cracking, and go back in with sub-1/64-inch levelness tolerance — a standard set by the Billiard Congress of America for regulation play.
Beyond the weight, pool tables present two other problems:
- Felt is unforgiving. Tear it during removal and you’re looking at $150 to $400 for a replacement, depending on cloth grade and whether the job is done by a professional installer.
- Slate joints are permanent once broken. Three-piece slate tables are shimmed and leveled at installation. Once you move the slate, all that calibration work is gone and needs to be redone from scratch after reassembly.
This doesn’t mean disassembly is impossible without professional help. It means it requires the right tools, a minimum of two strong people for the slate steps, and patience with the felt.
Tools you actually need
Before you touch the table, gather:
- Socket wrench set (typically 9/16″ and 1/2″ for most brands — check your table’s manual), Phillips and flathead screwdriver set
- Awl or staple remover (for felt removal — an awl causes less damage than a standard staple gun remover)
- Marking tape and a permanent marker (for labeling slate pieces and hardware)
- Soft moving blankets or thick furniture pads (at least six)
- Ziplock bags or small labeled containers for hardware
- A helper — two for everything below the felt, three for slate removal on an 8-foot or larger table
Do not use a power screwdriver on the slate bolts. Overtightening during reinstallation cracks slate, and you won’t feel the resistance with a drill the way you will by hand.
Step 1: Remove the pockets and rails
Start at the underside of the table. Flip up the felt-covered corner pockets and look for the bolts that attach the rails to the slate. On most tables, these are large bolts running up through the bottom of the rail, spaced every 12 to 18 inches.
Remove them in the sequence recommended in your owner’s manual, or work from corner to center on each rail.
Lift the rails off carefully — they’re heavier than they look, typically 30 to 50 lbs each, and the rubber cushions extend past the visible edge, so they can catch on the slate if you angle them wrong. Set each rail flat on a padded surface, not leaning against a wall where the cushion can compress unevenly.
Drop the pockets into a labeled bag or bucket. They’re small but easy to lose in a move.
Step 2: Lift the felt without ripping it
This is the step that most DIY disassemblies get wrong.
Pool table felt is either stapled to the slate or glued, depending on the table’s age and how it was last re-covered. Run your fingers slowly along the underside of the felt at one end to find out which you’re dealing with.
If stapled: Use an awl or a proper staple remover — not a flathead screwdriver — and work each staple out slowly. Start at one short end and work toward the other, keeping the felt flat and rolling it loosely as you go. Do not pull up at a sharp angle, or you will stretch and tear the cloth.
If glued: The felt will resist at first, then release in sections. Work slowly with your fingers rather than a blade. If it won’t release cleanly, leave it attached to the slate — you can have a technician remove it during reassembly and install new cloth at that point. Forcing glued felt off slate often destroys both.
Once removed, roll the felt loosely around a cardboard tube or a clean pool cue shaft to keep it from creasing. A crease in felt is permanent.
Step 3: Move the slate
This is a minimum two-person step on a 7-foot table and a three-person step on anything larger. Do not attempt this alone.
Three-piece slate is held to the frame with lag screws, typically hidden under beeswax or putty that was pressed into the screw holes during installation. Use your awl to dig out the putty, expose the screw heads, and remove them. Work one slate piece at a time.
To lift a single slate piece:
- Slide your hands flat under the long edges — no grabbing the corners.
- Lift straight up, keeping the piece level. Tilting even slightly can crack it along a natural grain line.
- Carry it flat and set it down on a padded surface — two moving blankets stacked — never on its edge.
Label each piece (Center, Head, Foot) with masking tape before you move them. The pieces are machined to fit together, and getting them out of sequence during reassembly means the joints won’t seat correctly.
Step 4: Disassemble the legs and frame
With the slate out, the remaining framework is straightforward. Most pool table legs bolt into the corner blocks from underneath — remove these bolts, and the legs come off individually. The frame rails (the wood structure underneath, separate from the playing-surface rails you removed in Step 1) typically break into two or four sections, depending on the table.
Label every piece with masking tape as you go. Hardware goes into labeled bags: one bag per section, taped to the section itself. Do not mix the leg bolts with the slate lag screws — they look similar but are different lengths on most tables.
Labeling and packing for transit
By this point, you should have:
- Three labeled slate pieces, each wrapped in at least two moving blankets
- Rails, individually wrapped
- Frame sections, labeled and wrapped
- Legs, labeled
- Hardware bags taped to their corresponding parts
- Felt, rolled loosely on a tube
Slate travels flat, never on edge. If you’re renting a truck, load the slate pieces as the last items in, directly behind the cab — the smoothest ride position. Place a moving blanket between each piece and between the bottom piece and the truck floor. Strap them so they cannot shift, but do not overtighten the straps across the slate face.
Everything else can load around the slate. Wrap all wood components fully — a single dent in a rail cushion affects play.
When to hand it to professionals
There are configurations where DIY disassembly creates more risk than it saves in cost:
- Stairs. Getting 200 lbs of flat stone down a staircase safely requires a minimum of three people and a plan. In Carmel hillside homes and Pacific Grove Victorian houses with narrow stairwells, this often isn’t achievable without professional equipment.
- Narrow doorways. Standard slate pieces are wider than many doorways in older Monterey Peninsula homes. Mod Movers pool table moving teams assess doorway clearance before the job, not on move day.
- Basement-to-upstairs configurations. Common in Pebble Beach vacation homes and older Pacific Grove properties, this adds the stair problem to confined-space maneuvering.
- Any table you suspect has one-piece slate. One-piece slate is rare on residential tables but does exist. Moving it is a different operation entirely and is not covered by this guide.
If any of these apply to your situation, contact our Monterey moving team for an assessment before attempting disassembly.
Reassembly: why level and squareness matter
Reinstalling a pool table is not simply reversing the disassembly steps. The Billiard Congress of America specifies that a regulation table must be level within 1/64 of an inch across the playing surface. Getting there requires shimming the slate joints, filling the screw holes with fresh beeswax, and checking levelness with a precision machinist’s level — not a standard bubble level from a hardware store.
If the table is even slightly off:
- Balls drift on straight shots
- Rail kicks play unpredictably
- The center joint between slate pieces becomes visible over time as the cloth settles unevenly
Unless you own the correct leveling equipment and have done this before, reassembly is the one step where professional finishing almost always pays for itself in the long run. A re-level typically takes 60 to 90 minutes for an experienced technician and is included as part of our pool table moving service.
The short version
Disassembling a pool table for moving is a structured job, not a brute-force one. Work in order, label everything, handle the felt with more care than you think you need to, and get extra hands for the slate. Do it right and the table comes through the move ready to play. Cut corners on any of the steps above and you’re looking at expensive repairs before your first rack in the new place. If at any point this looks like more than you want to manage, get a quote for pool table moving on the Monterey peninsula — we handle disassembly, transit, reassembly, and re-leveling end to end, in Monterey, Carmel, or anywhere across the peninsula.